Our Color Correction Services ensure your images display true-to-life colors, balanced exposure, and consistent tones across all platforms. Whether for e-commerce, fashion, product photography, or marketing campaigns, we refine every image to match your brand standards—naturally and precisely. high-quality images with accurate colors are essential for making a strong impression, boosting sales, and building trust.
We proudly serve satisfied clients worldwide.
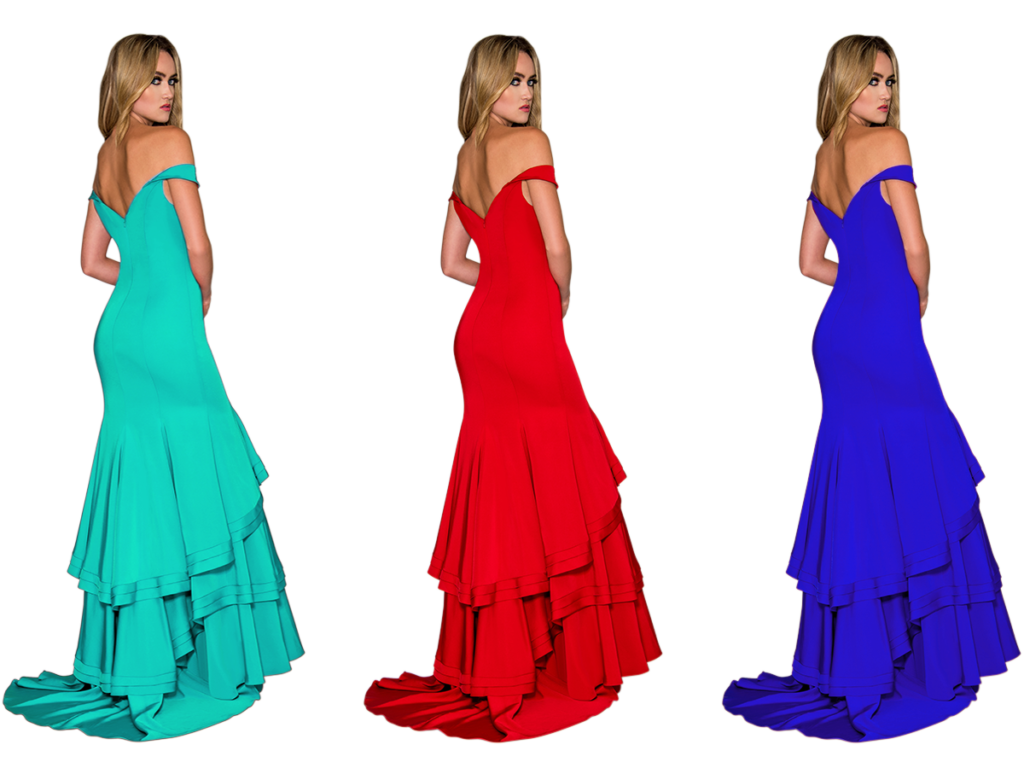
Transform your images with professional Photo Color Changing Services. Whether you need to change the color of clothing, products, backgrounds, or any other element in your photos, we provide accurate, high-quality color replacement and adjustments that make your images stand out.
Our expert team uses Photoshop and advanced editing tools to deliver precise color changes while maintaining natural lighting, shadows, and textures for realistic, visually appealing results.
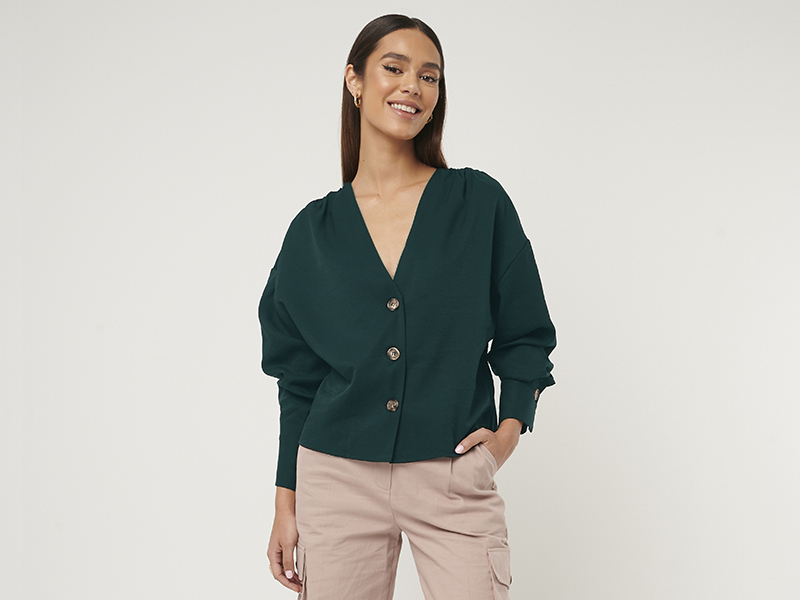
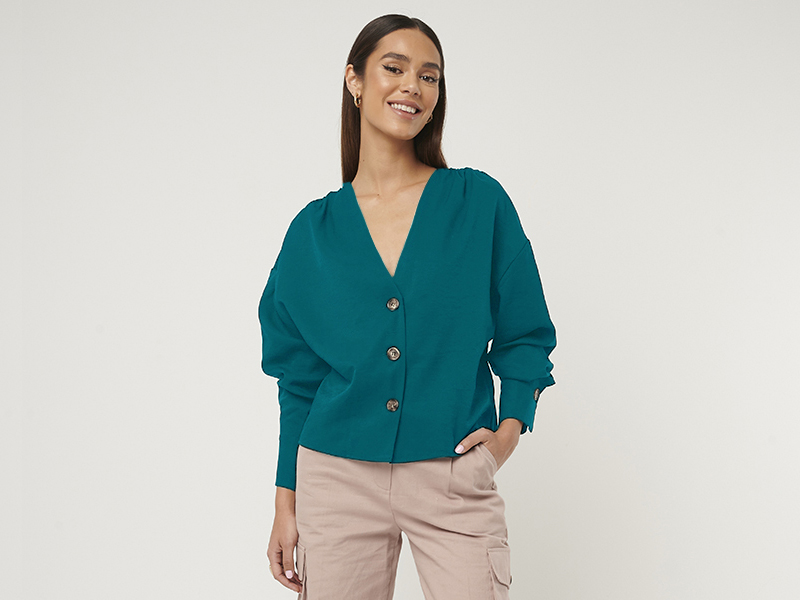
Managing large collections of images can be time-consuming, but with our Batch & High-Volume Color Correction Services, you can save time while maintaining professional, consistent, and visually stunning results. Perfect for photographers, studios, e-commerce businesses, and agencies with large image catalogs.
We use advanced Photoshop and Lightroom techniques to ensure uniform color balance, exposure, and tone across all images, delivering fast, reliable, and high-quality results for bulk projects.
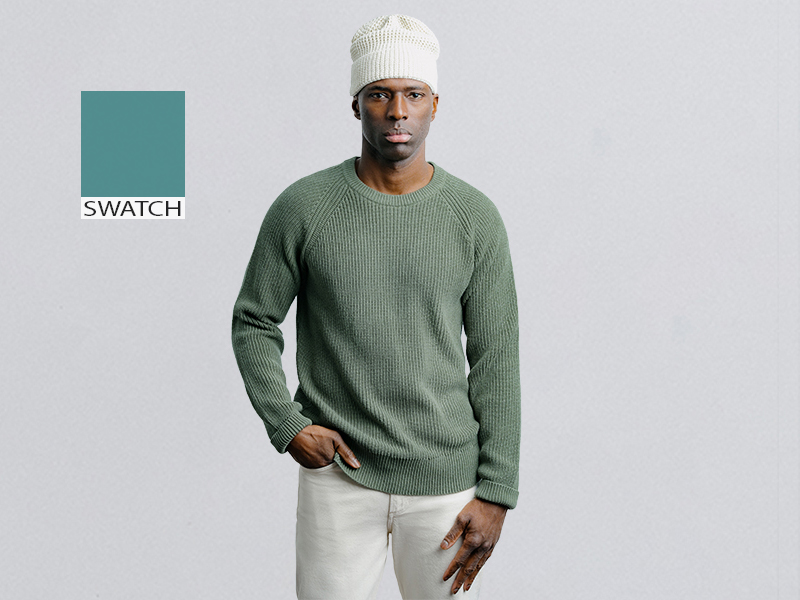
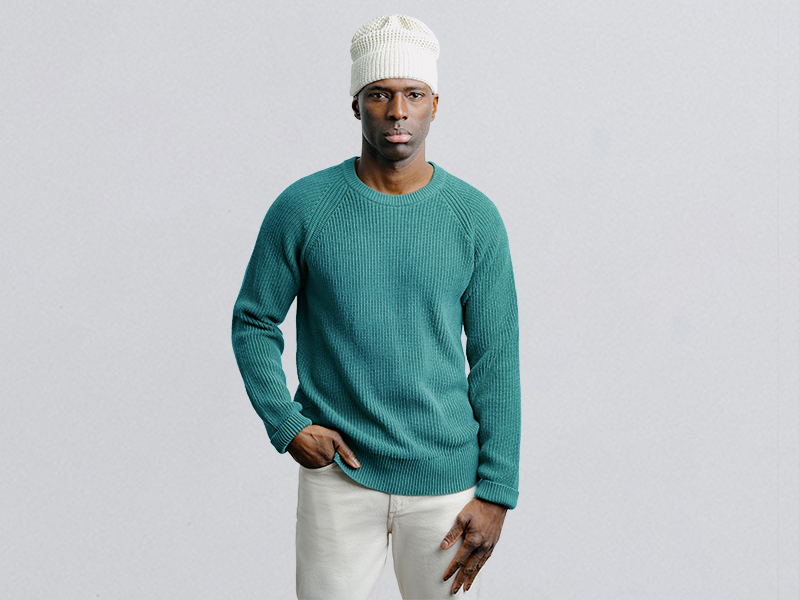
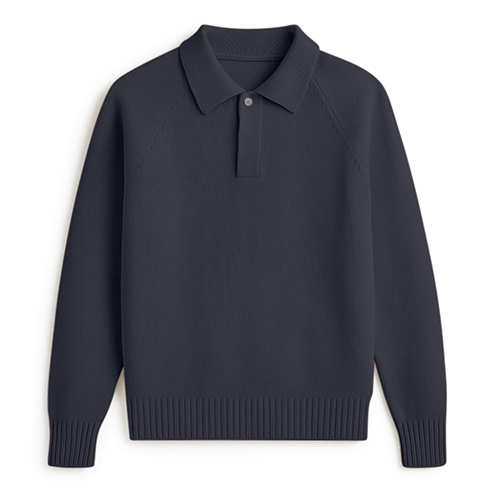
Make your flat lay apparel images vibrant, accurate, and visually appealing with our Flat Lay Apparel Color Correction Services. Perfect for online stores, catalogs, lookbooks, and social media, we ensure every garment’s color is true-to-life and consistent across your product images.
Using Photoshop and Lightroom expertise, we correct color inconsistencies, balance tones, enhance textures, and preserve details, giving your flat lay images a professional and polished look.
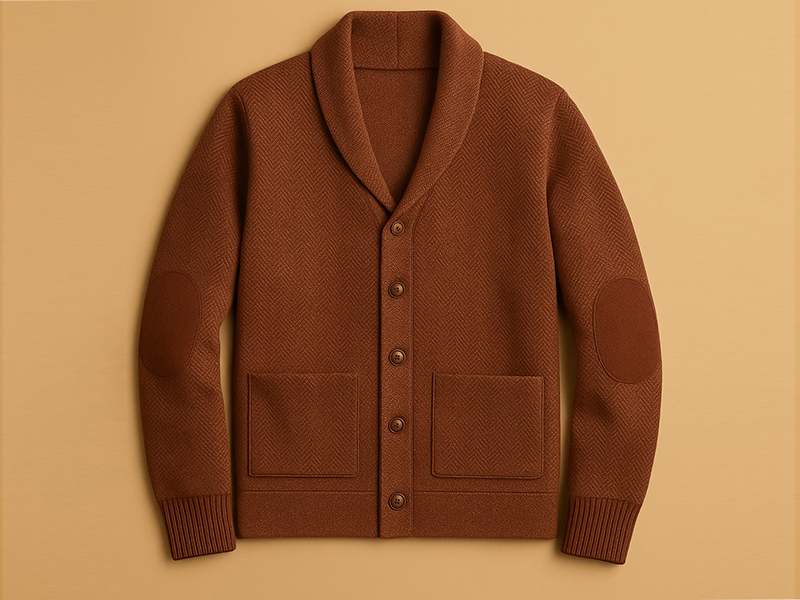
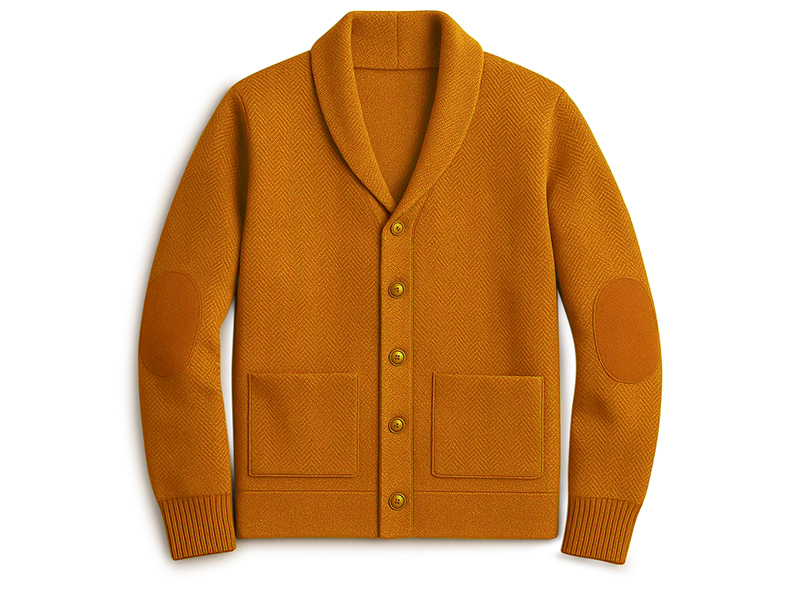
Accurate product colors are essential for building trust and increasing sales in online stores. Our E-commerce Product Color Correction Services ensure your product images look professional, vibrant, and true to life. Perfect for brands, retailers, and photographers selling products online.
We use advanced Photoshop and Lightroom techniques to fix color inconsistencies, balance tones, and enhance product visuals for maximum appeal and conversion.
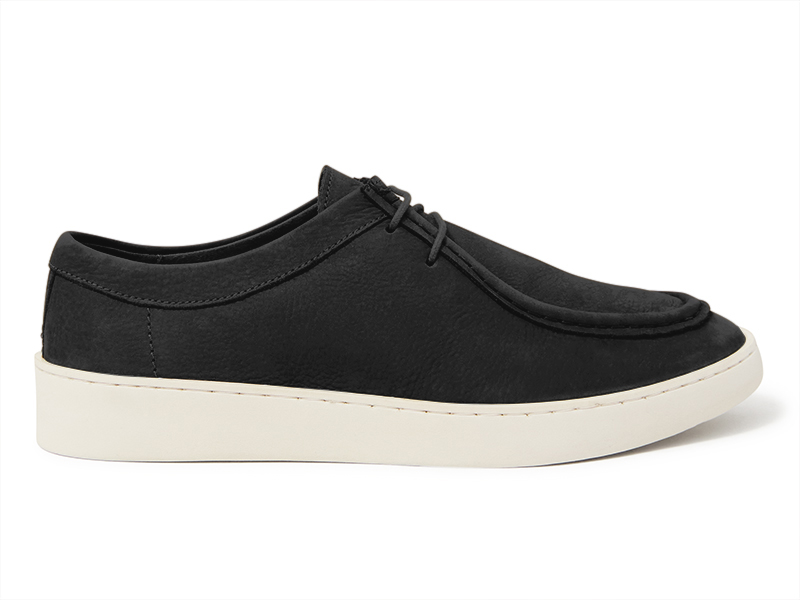
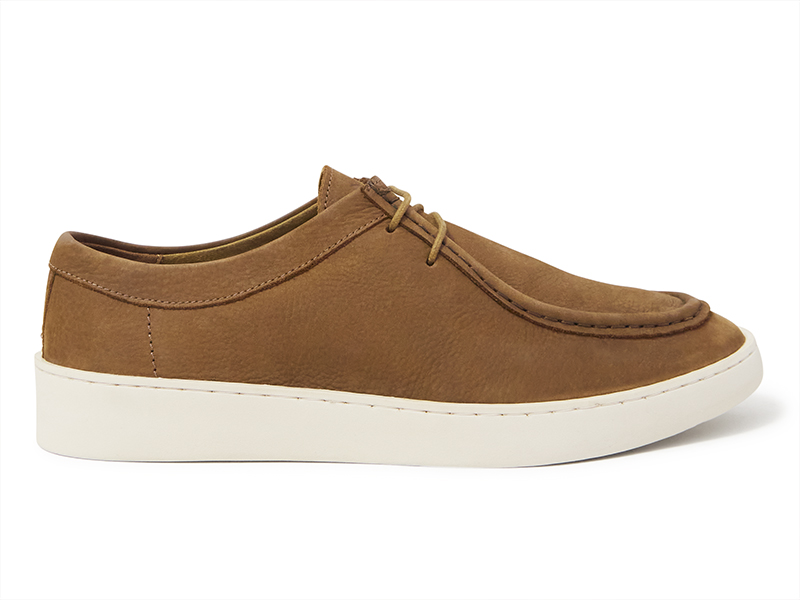
Using advanced Photoshop and Lightroom techniques, we correct color inconsistencies, adjust brightness and contrast, enhance textures, and maintain natural shadows and highlights for high-quality, professional results. Bring your furniture images to life with our professional Furniture Color Correction Services.
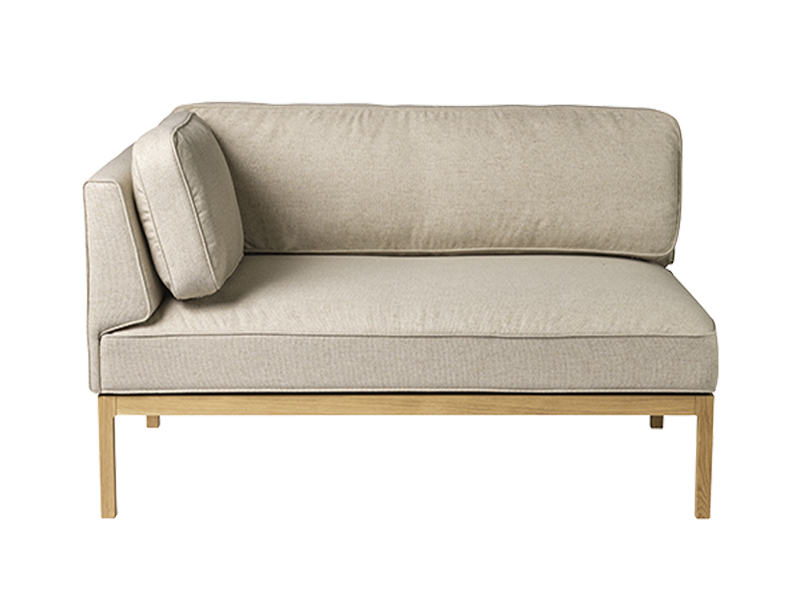
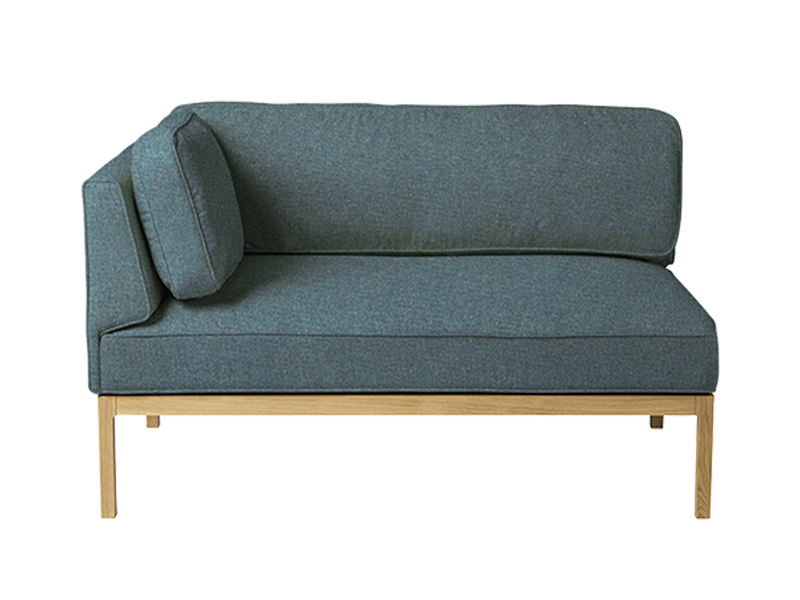

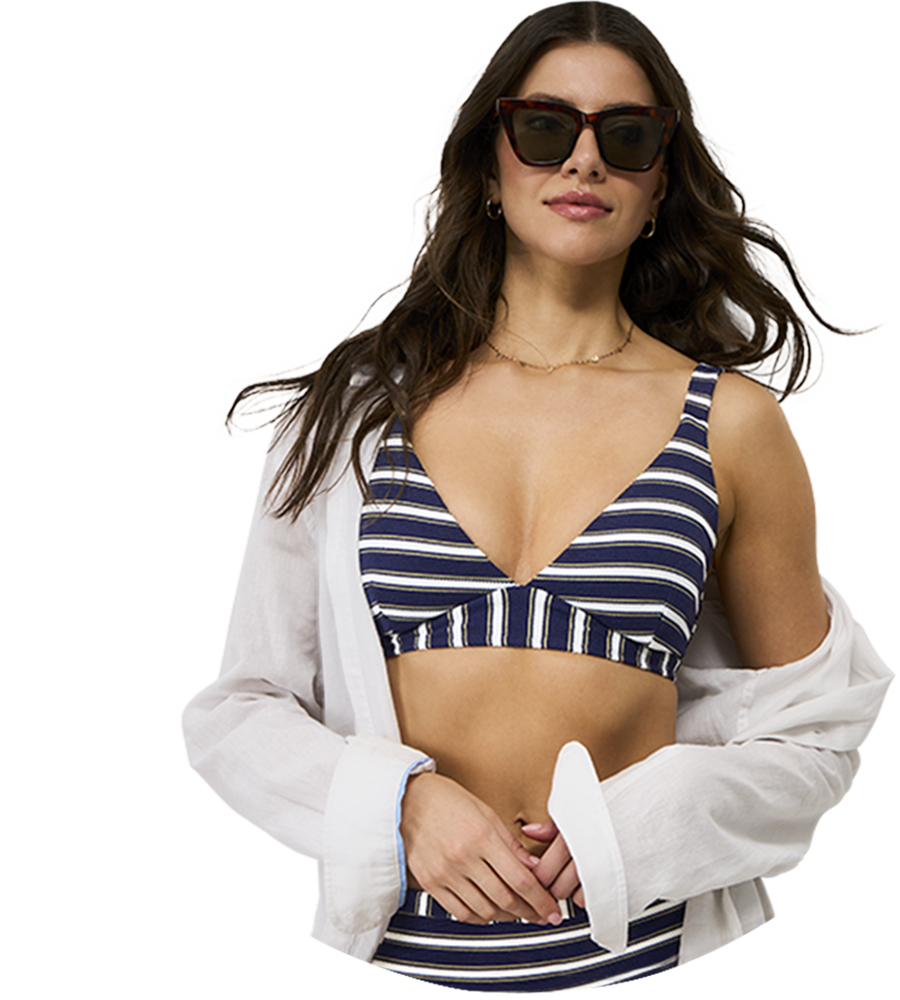
high-quality images with accurate colors are essential for making a strong impression, boosting sales, and building trust. Our Color Correction Services help businesses, e-commerce brands, photographers, and creative agencies enhance their images to look professional, vibrant, and visually appealing. Ensure your images reflect true-to-life colors with our professional color correction services. Perfect for e-commerce, portraits, and product catalogs, we deliver polished visuals that boost customer trust and conversions.
Maintain uniform color tones, lighting, and brightness across your entire image collection. Our service ensures that your product, fashion, or portrait images look professional and cohesive, building a strong brand identity. Vibrant, corrected images attract more attention and encourage higher click-through rates. With precise color correction, your business can enhance visual appeal, increase engagement, and boost online sales.
We handle single images or bulk projects efficiently. Our workflow ensures quick turnaround, high-quality results, and the ability to scale for large catalogs or studio projects without compromising on accuracy. From fashion and apparel to furniture and electronics, we deliver high-end color correction services that elevate your images. Accurate colors, enhanced details, and polished results create a professional impression for your business. Professional color correction reduces errors, ensures product accuracy, and saves time compared to reshoots. Accurate and vibrant images minimize returns and build trust with your customers, supporting business growth.
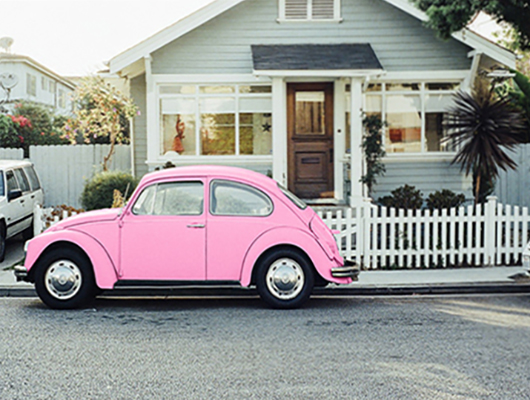
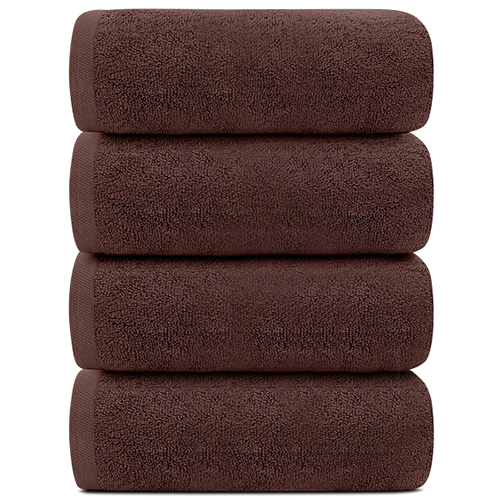
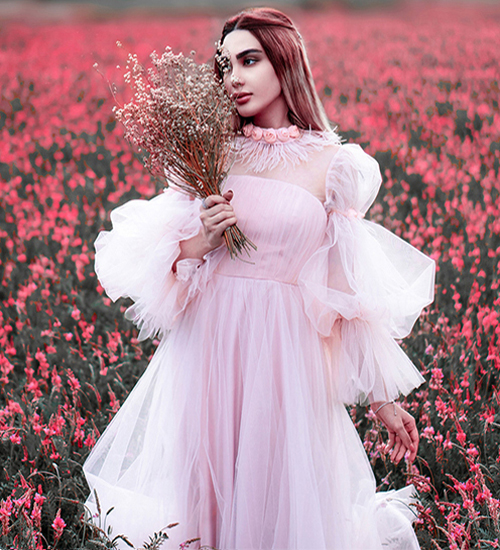
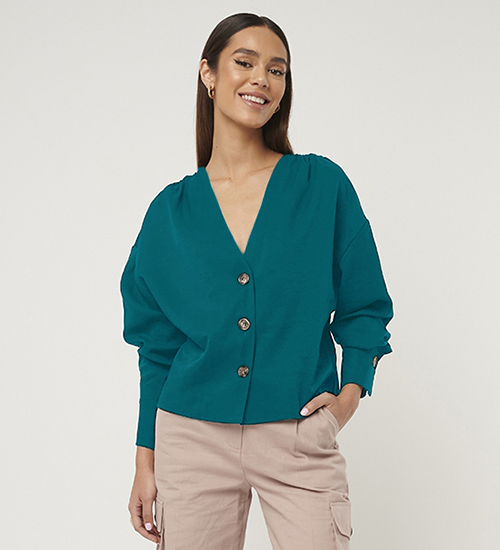
Explore a selection of our latest editing projects, delivered for leading brands, businesses, photographers, and editorial agencies worldwide.



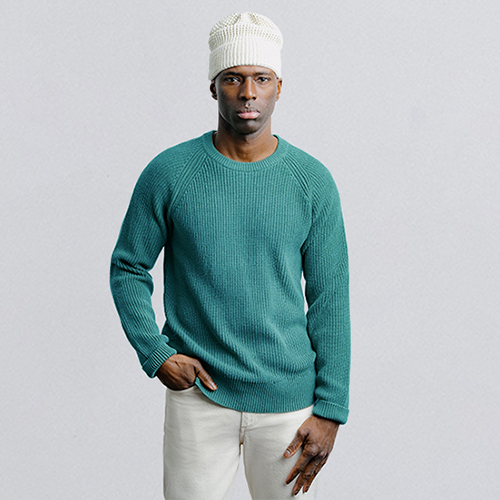
Just complete the form, share your images, and we’ll deliver your free trial edit in 1 hour.
Upload your images, tell us a bit about what you need, and get a clear, budget-friendly price on the spot.
You will receive a free trial edited image and confirm our acceptance.
we’ll send images via share able link by ( FTP Server/ Wetransfer/Google drive/dropbox/).
Immediate corrective action is one of our best attributes. Your satisfaction is my first priority.
PAYPAL, We are okay with all popular payment methods, so there is nothing to worry about.

Everything you need to know about the product, billing, discounts, and promotions.
Yes! We specialize in batch color correction, ensuring every image is consistent and high-quality—even for hundreds or thousands of files.
Absolutely! We enhance colors while maintaining authenticity, avoiding over-editing so your images always look realistic.
Our standard delivery time is 6–12 hours. For larger projects, delivery may take 24–48 hours. We also offer express delivery for urgent orders.
Yes! We offer 3–5 free sample edits for new clients so you can evaluate our quality before placing a full order.
Yes. We offer 24/7 customer support to serve clients across different time zones without interruption.
Yes. We specialize in bulk image editing and offer long-term partnerships with dedicated teams and special pricing.
Our global clients inspire us to deliver better results every single day. See what they say about our photo editing services.
I’ve been working with photoedite.com for over 6 years and they’ve never missed a deadline. The edits are clean, accurate, and consistent across all product categories.
Owner & CEO
The communication was smooth, the instructions were followed perfectly, and the results were better than expected. Their color correction and retouching work is top-notch.
Photographer ( USA )
“We started using their image editing services for our apparel line and saw an immediate improvement in product performance. Better photos = higher conversion. Worth every dollar!”

Co-Founder
“We needed marketplace-compliant images and photoedite.com delivered exactly what we needed for Amazon. Clean backgrounds, great shadows, and accurate colors. They know what they’re doing.”

CEO in Studioinx
“As a studio, we handle thousands of SKUs and they have become our go-to editing partner. Their bulk image processing capability is excellent and the team ensures consistent output across all batches.”

Photographer
“Our fashion catalog images came out stunning! Skin tones, fabric details, and color matching were incredibly precise. The flat lay editing exceeded expectations.” I’m open to working with them.

CEO
“Honestly I didn’t expect such high-quality work at this turnaround speed. They understood our brand style right away and executed perfectly. We’ll continue using their services.”I am pleased with them

Co-Founder
“We used their real estate photo editing service for our listings and the results were amazing. Bright interiors, realistic window views, and beautiful sky replacements helped us attract more buyers.”
Founder
“Jewelry editing is tricky because of reflections, but they handled it like experts. Our product images now look premium and professional on our website and social media.”

Photographer ( CA )
We center our expertise on your goals, providing premium results and round-the-clock support for complete peace of mind.
Enjoy special discounts and rewards that grow with every collaboration.
Every payment goes directly to your dedicated photo editor skilled professionals working tirelessly, despite limited opportunities.
info@photoedite.com
(+880) 1581119775
1200 Mirpur A/C Dhaka, Bangladesh
© Copyright 2021 – Photo Edite – All Rights Reserved.